 DENEB SYSTEMS
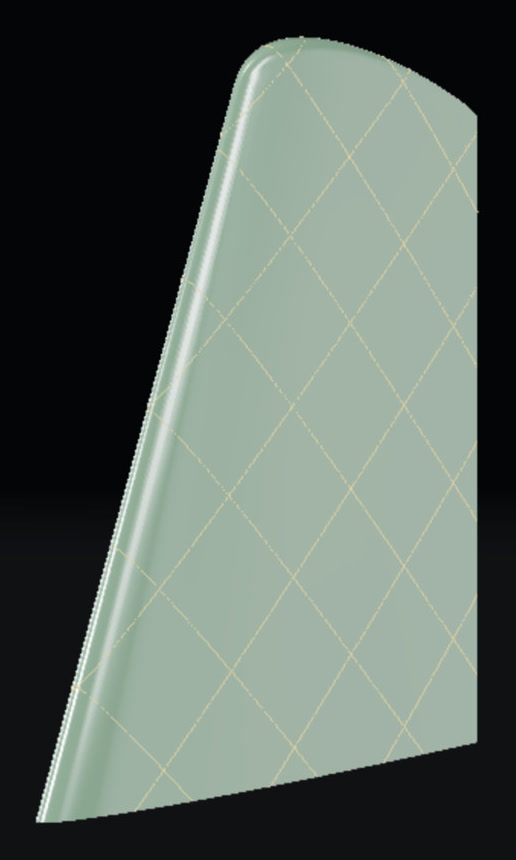
Rib pitch
Default 30 mm
Distance between parallel ribs. Smaller pitch packs more members and more plastic; larger pitch lightens the truss.
Deneb Systems / 3D printing
3D-printing software for UAV wings. Convert a solid STL into a vase-mode mesh — one wall the slicer can spiral, optional diamond ribs for stiffness. It runs in this browser. Nothing is uploaded.
Open the studio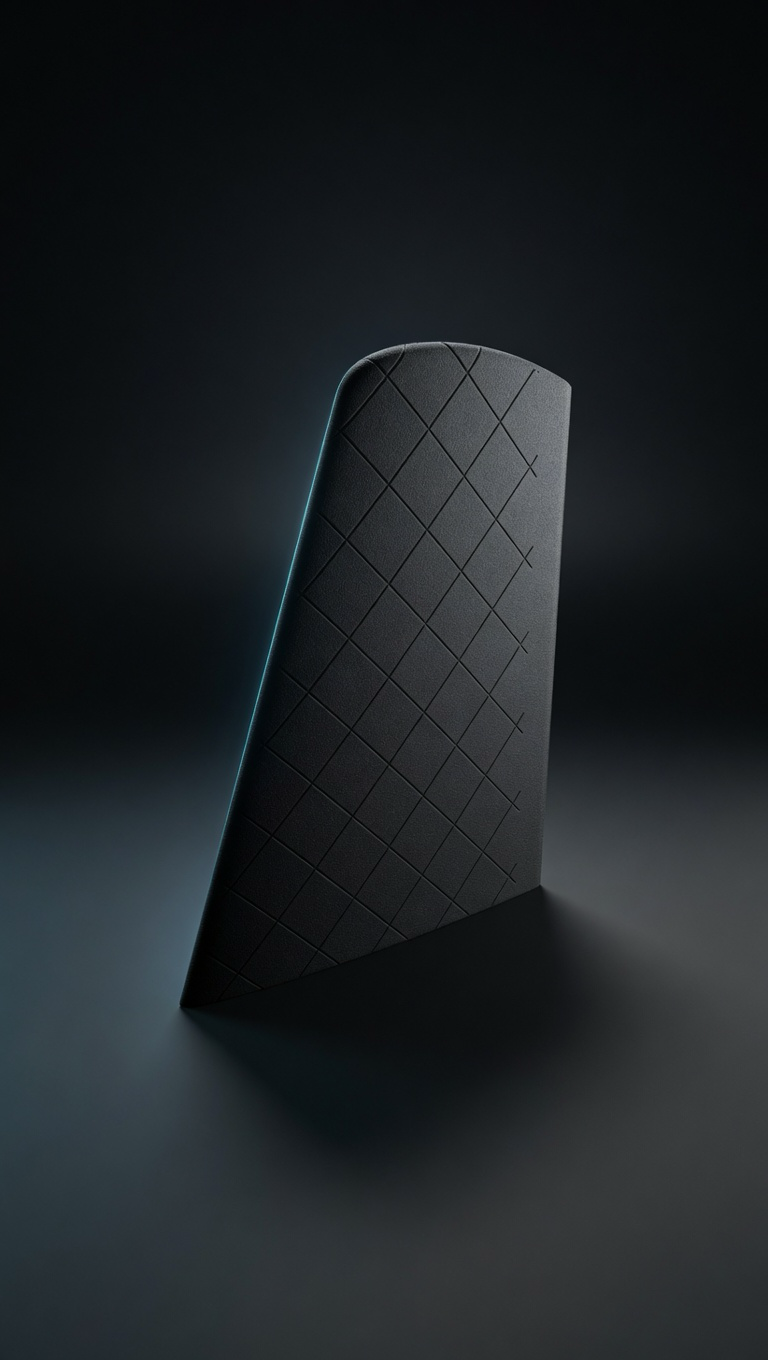
01
Drop an STL, or a sliced .3mf to copy layer height. The file stays in this tab.
02
Rib pitch and angle draw on the model. Click a face to stand that surface on the bed.
03
One hole-free loop per layer, with a diamond truss inside. Download an STL the slicer can vase.
Printed airframes
Deneb aircraft are largely 3D printed. Mass is the design. Filling a wing or fuselage with infill is cheap stiffness and expensive weight. Vase mode is one continuous extrusion — fewer seams, less plastic — and the internal ribs carry load as a truss instead of a solid. That is the difference between a printed shell and a part that can fly.
Documentation
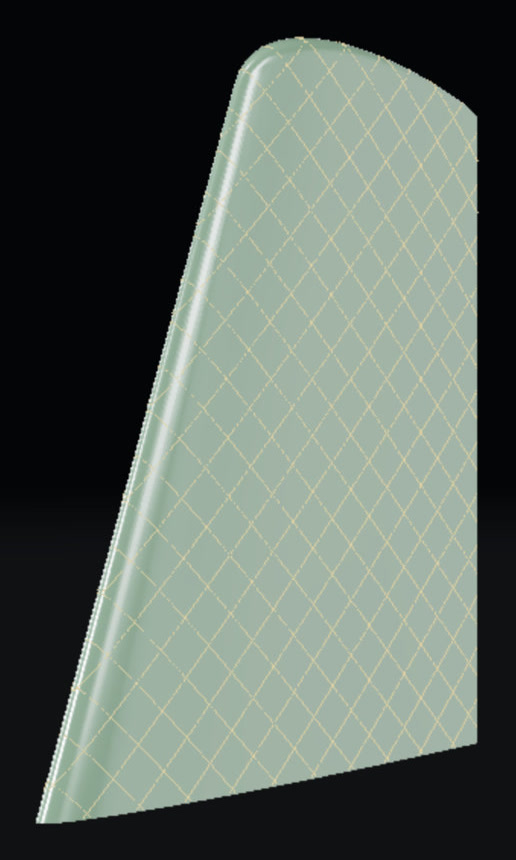
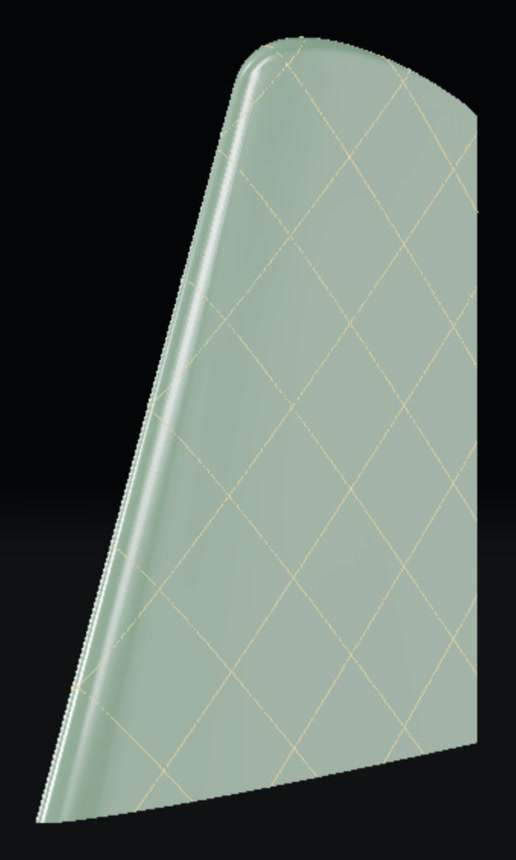
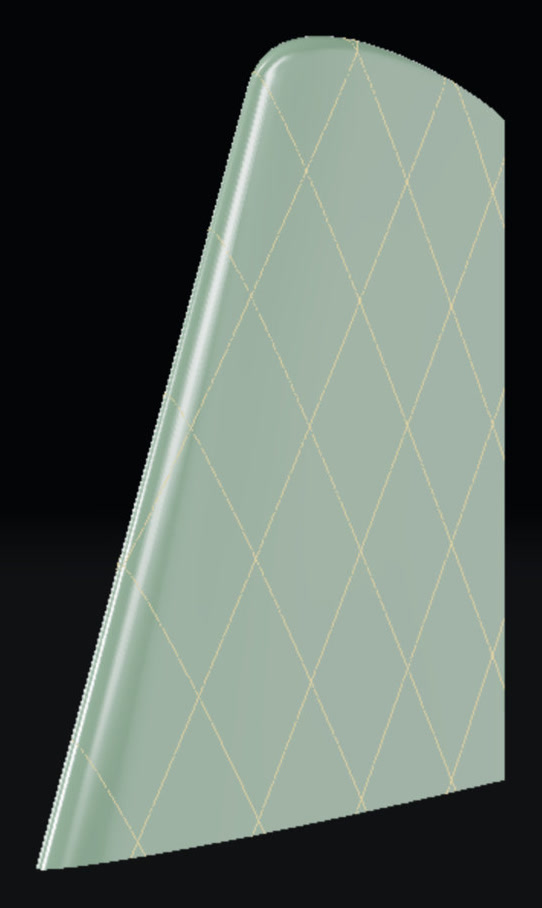
Rib pitch, angle, and scallop are shown on the same UAV wing. The rest change the slice, not a picture of the overlay — match layer height and nozzle to the slicer.
Default 30 mm
Distance between parallel ribs. Smaller pitch packs more members and more plastic; larger pitch lightens the truss.
Default 45°
Rib angle from horizontal. 45° gives a diamond. Higher values lean the members toward span.
Default 0.5
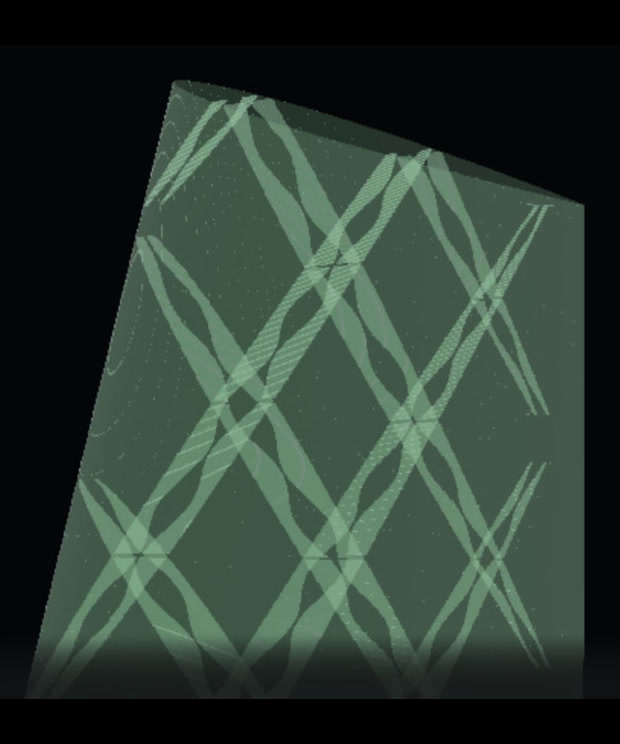
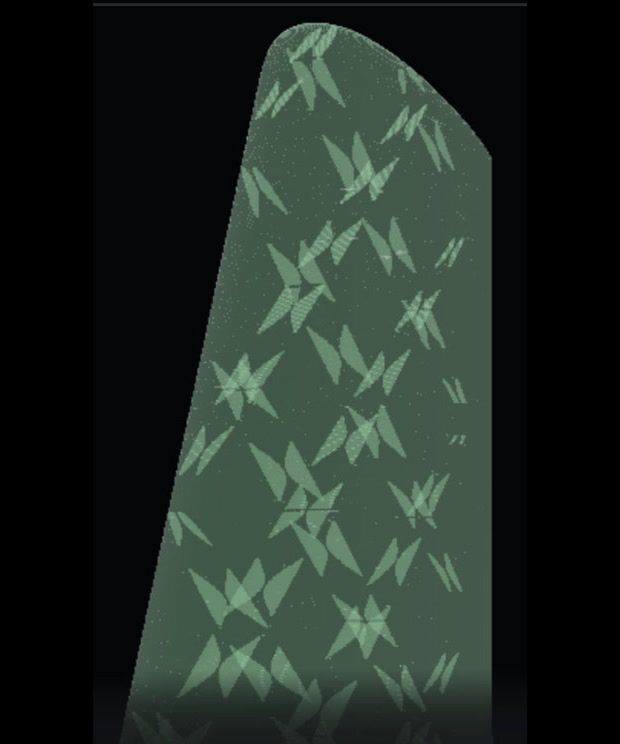
Waves rib depth along its length, 0 to 0.9 of full depth. The member stays continuous — this is how you lighten a rib without cutting it. 0 is a solid rib.
Default off
Skip the lattice. One vase-safe skin, no internal truss. Use when the part is already a shell or you only want the spiral wall.
Default 0.2 mm
Height of each vase loop. Must match the slicer. A mismatch can land a slice on a step and show as a gap.
Default 0.2 mm
Thickness of the layer on the bed. Match the slicer’s first-layer height so the floor and the vase start agree.
Default 3
First N layers are a solid floor: holes filled, no rib slots. Match the slicer’s bottom shell count (Bambu default 3). 0 puts slits on the bed.
Default 0.4 mm
Nozzle diameter. Sets how wide a bead is. Keep it in line with the slicer; slit width is chosen relative to this bead.
Default 0.15 mm
Width of every hairline slit and bridge. Must stay open in the slicer — if it is too narrow the slicer heals the cuts shut and the vase loop breaks.
Default 0 mm
For holes already present in the uploaded STL, a positive value switches the hairline connection to the outside every N millimetres of height. In periodic mode, a carbon-tube hole can alternate upper/lower skin connections along the same through-hole. Generated truss ribs are unchanged.
Default periodic height bands
Periodic switches each through-hole by height. Split sends spanwise halves to opposite skins, alternate flips neighboring holes, and shortest keeps the nearest-side opening.
Default 0 mm
Draw the top of the part out to a point over this many millimetres. 0 leaves the source tip.
Default 1 mm
Width the tapered tip closes down to. Only applies when tip length is greater than 0.
Default stepped
Stepped gives each layer vertical walls on the slicer’s layer grid — build at the height you will slice. Smooth rules a surface between rings: fewer triangles, but only valid on that layer grid.
Default flattest face
Which face sits on the bed. Flattest face is automatic. As supplied keeps the file. Click a face in the 3D view to stand that surface on the bed — preview and Build then use that pose.
Default off
Frontend-only overlay of the lattice on the solid, before Build. Pitch and angle update immediately. It is a drawing on the mesh, not the sliced result.